
You’ve planned your video and recorded it on your smartphone…now what?
You might be feeling intimidated by the whole idea of editing and all the technical bits that come along with it. Let’s keep things simple and start small.
Think of editing like this: You’re creating an experience for your viewers by editing your videos, and you can do it really simply with minimal steps.
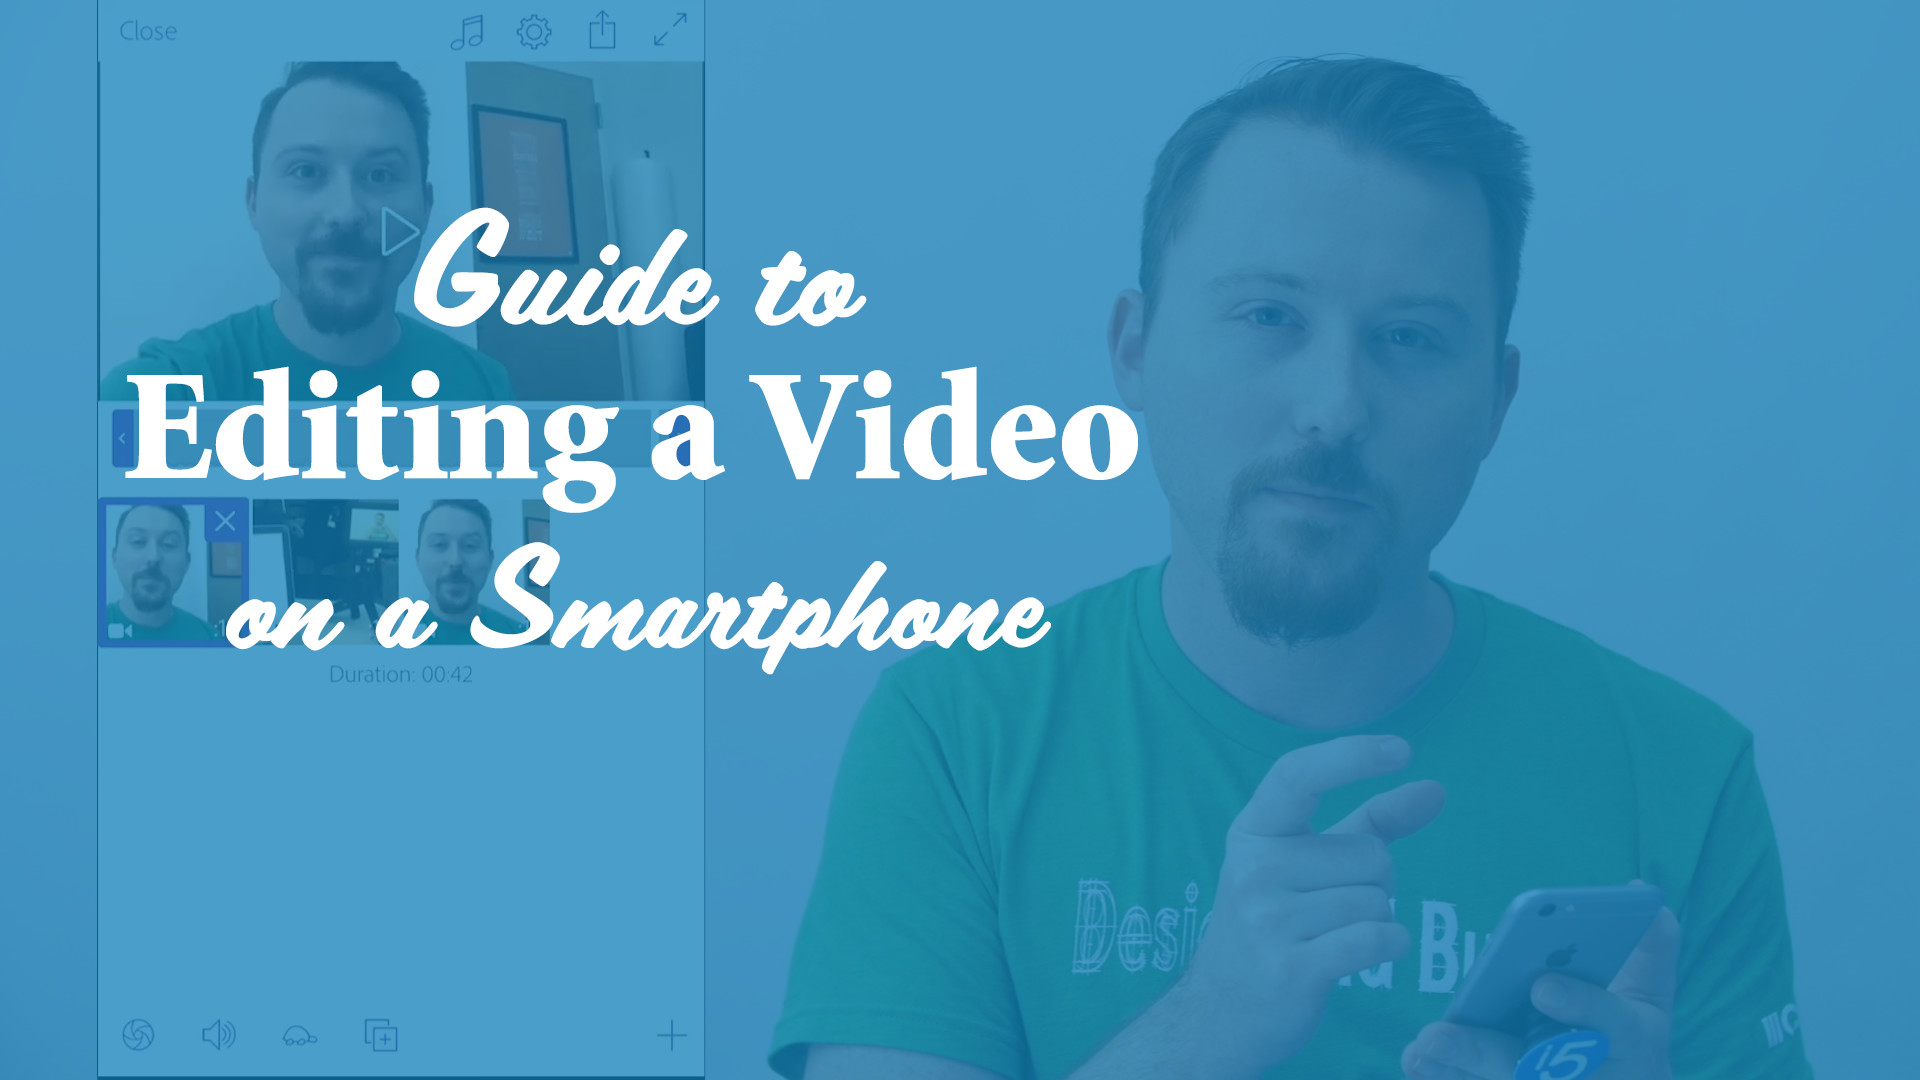
In today’s episode of Start Small with Video, I’m going to walk you through exactly how to edit a video on your smartphone:
Editing a simple video from 3 recorded clips on your smartphone.
Watch the complete 17-minute guide above and you’ll get to edit a complete short video with me on a smartphone. Here are the main steps:
- In the App Store or Google Play Store, search for and download: Adobe Premiere Clip
- Open the app and create a new project
- Import the video clips that you want to edit together; you can always add more later.
- Watch and review your clips to consider which parts of them you want to keep.
- Select the parts of a clip you want to keep with the IN and OUT points.
- The IN point defines the start of the selection you want to keep, and the OUT point defines the end of the selection you’re keeping from that recorded clip.
- If you want to reorder your edited clips, sequence your clips by tapping and dragging one clip to shuffle it among the others.
- Export your video from Premiere Clip to save it to your phone’s photo library; then it’s all set for you to upload directly to Wistia, Instagram, Facebook, etc.
But what about adding a logo or some text on screen?
On a smartphone, it’s best to make videos simply in order for them to look good. That means simple shots and simple edits. This all can lead to a video-making process that’s easier for you to get from a video idea to clicking upload, and that’s what will empower you to make more videos more often for your audience.
Let me know in the comments – when it comes to editing, is there an area that you’re struggling with most?
Here’s the exported video from this guide:


