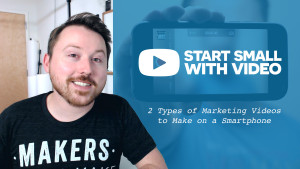

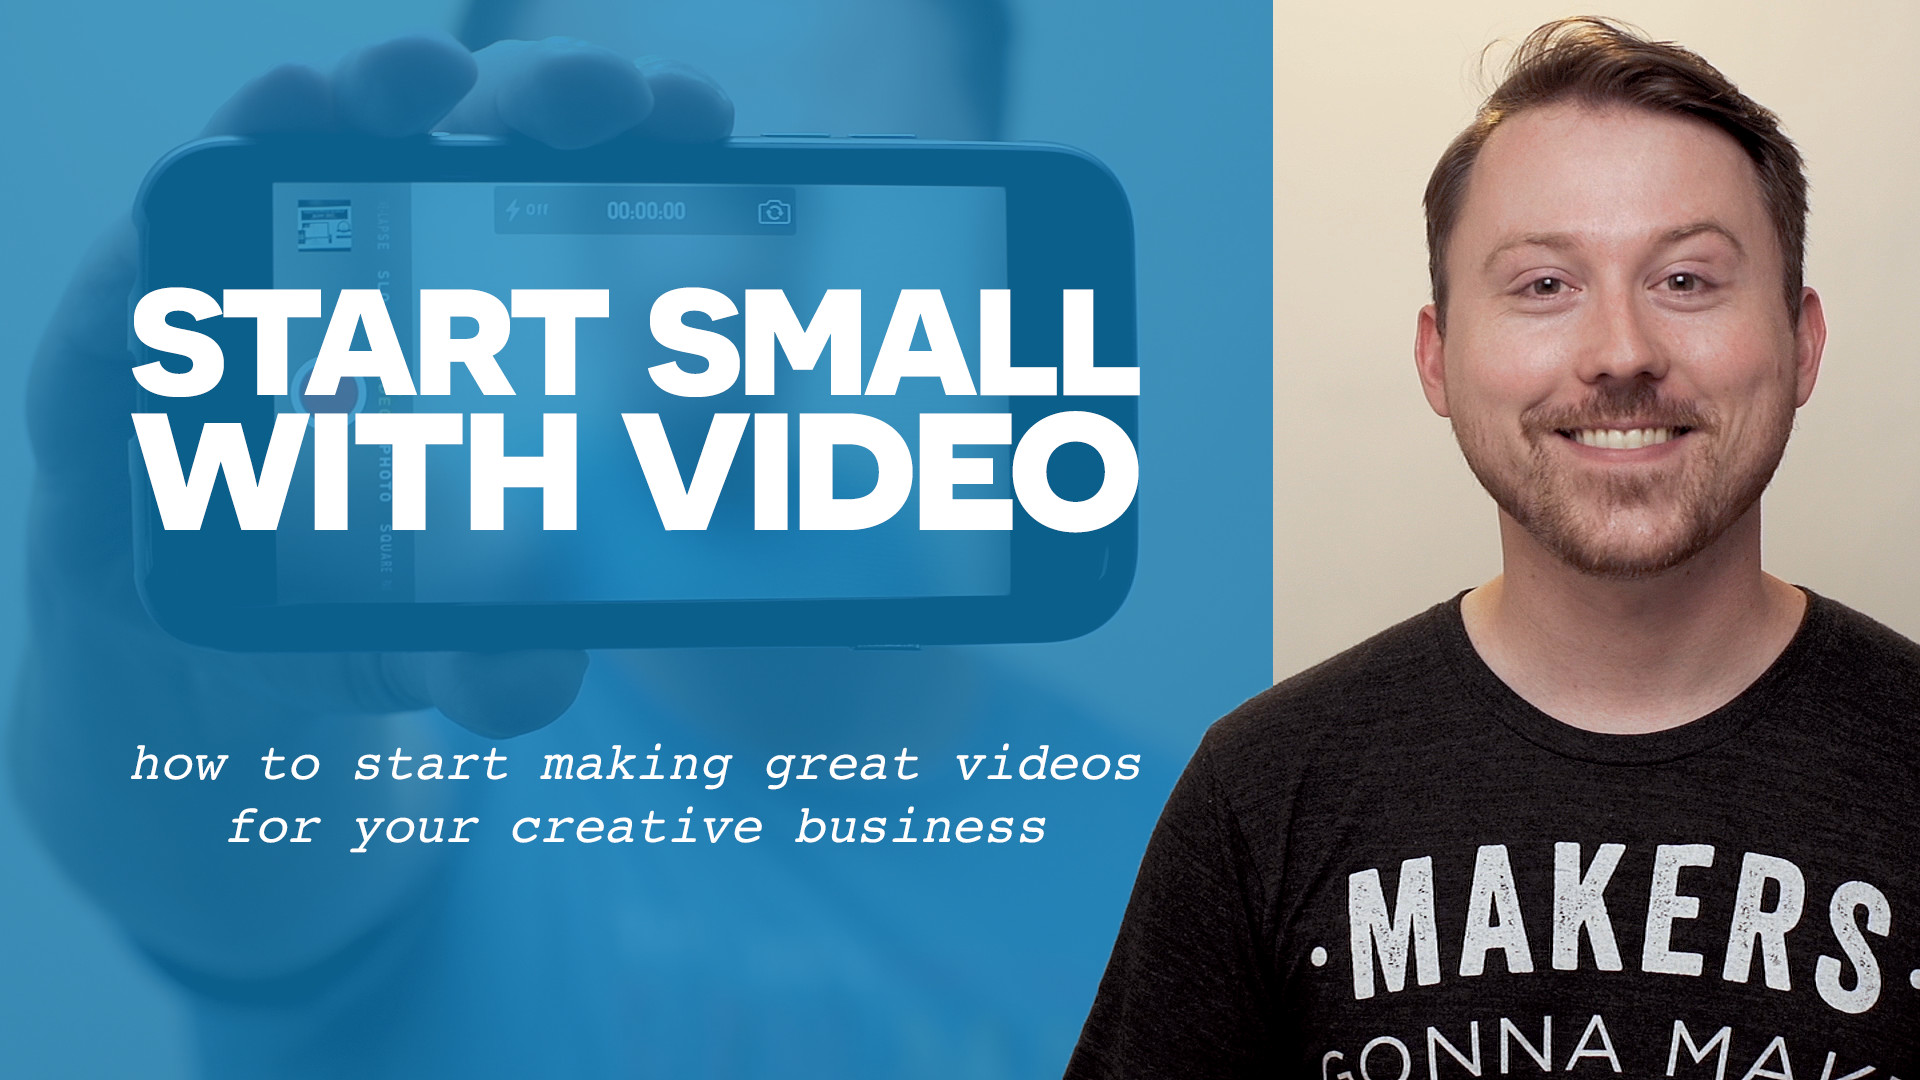
I’m so excited – today I get to start helping you make great videos yourself, and all with the camera you already have with you.
In this first post I’ll share an overview of the three steps you can start with today to make a great video. Here, let me show you in this first episode of Start Small with Video:
As creative entrepreneurs we have a super power: We flex our creativity on a daily basis because it’s at the core of what we do for a living.
And you know what’s exciting? We already connect those creative talents into every part of running our businesses – and I want to show you how to plug them into making videos, too.
Since you’re here you may have already tried making videos to share what you do with your audience. Or maybe you’ve just thought about it.
I know it can feel intimidating to figure out the technical side of making videos, and – perhaps most importantly – how to make videos that you’re proud to share. Consider Ira Glass’ thoughts on what he calls the taste gap:
Nobody tells this to people who are beginners – I wish someone told me. All of us who do creative work, we get into it because we have good taste. But there is this gap. For the first couple years you make stuff, it’s just not that good. It’s trying to be good, it has potential, but it’s not. But your taste, the thing that got you in the game, is still killer. And your taste is why your work disappoints you… It’s gonna take awhile. It’s normal to take awhile. You’ve just gotta fight your way through.
My point is this: You can start small with video. And they’ll not only be fun for your audience to watch, but simple for you to create.
There are three steps to making a great video: Plan it, make it and share it.
Too simple? Stay with me and I’ll show you how by making what I like to call a “tiny video,” or one that’s about 15 to 30 seconds long.
3 STEPS TO MAKING A GREAT VIDEO
First: Plan it.
Give yourself about ten minutes to write a plan for your tiny video.
Start with writing down the sequence to your creative process. Then choose one specific part that’s especially visual. (save the rest of your list for more videos)
For my tiny video, I’ll share my filming process for videos like the launch video for Start Small with Video.
Next, make a shot list of what you want to film to show this part of your creative process in a fun way.
Write down 3 shot ideas.
For mine I’m going to get: A timelapse of me setting up, some close-ups while I rig a few pieces of gear, and a wide shot of me doing this too.
If you find it challenging to come up with shots, just keep it simple – think of them as a sequence of little moments.
Second: Make it.
With your plan in hand, you’re ready to start filming. Grab your camera.
To keep things simple, I’m using my iPhone. But you can use really any camera with a video mode.
Pro Tip: Always flip your smart phone 90 degrees and film horizontally – avoid “vertical video syndrome” at all costs.
For lighting: Find a bright spot inside with a window beside you, light it yourself with available lamps, or go outside with the sun.
Having enough light on the subject is important: It entices your viewers to continue watching, plus smaller cameras simply need a lot of light to produce a good image.
Secure the camera to a tripod, a stack of books or really anything that’ll help you stabilize the camera while you’re filming.
Now, hit record and go for it!
Refer back to your shot list, as needed, to make sure you’re getting everything you visualized before. And don’t be afraid to test and try out shots that pop in your head along the way, too.
Once you have all of your shots, it’s time to edit your tiny video. Since I used my iPhone to shoot mine, I’ll use it to edit it too.
Import your footage into your editing software. On my iPhone, I prefer Adobe’s free iOS app Premiere Clip.
Since we planned for a tiny video, make a fun sequence out of your shots that fits within a 15 to 30 second length.
Pro Tip: If you want to share your tiny video on Instagram, it needs to be 15 seconds or less.
Once you have your shots assembled into a sequence, try playing with the exposure and color. Add some music that supports your visuals. Review your edit, and after you make any final tweaks, export it out.
Third: Share it.
With your tiny video saved, you’re all set to upload it wherever you want to online. I’m posting mine to my Instagram so my audience there can get a special behind the scenes look at my process.
That’s it – you’ve made a great video, all on your own with the camera you already have with you.
Here’s my tiny video from this process:
MORE TIPS, TOOLS & RESOURCES
- When you start your week, jot down any interesting, fun tasks or projects to make a tiny video around.
- Timelapses can be an especially engaging way to share activities that take a ton of time to complete. Try using Hyperlapse on your iPhone.
- To come up with ideas for videos, consider what your friends and customers repeatedly ask you about. Keep an on-going list of these questions, make videos answering them and acknowledge the person who asked them.
- On Instagram, before posting a video (or photo), do what you can to help people who are already on IG find your post: Search for hashtags not only that your work relates to, but also that your target audience is looking for. Put yourself in their shoes, what do they enjoy? Go to the “Search” tab and find those hashtags that have at least a few thousand posts already. Then use those hashtags in the caption of your video (or photo).
- To help stabilize your smart phone, I use and highly recommend The Glif tripod mount and stand. It’s handy, well built and affordable. It’s not necessary to buy anything yet, but The Glif is a great tool to help simplify the video making process even further.
- Want to edit on your iPhone? I use and recommend Adobe’s free iOS app Premiere Clip.
- Want to edit on your Android device? Try KineMaster. I haven’t used it yet myself, but the reviews are great.