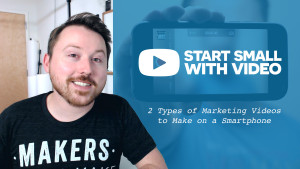

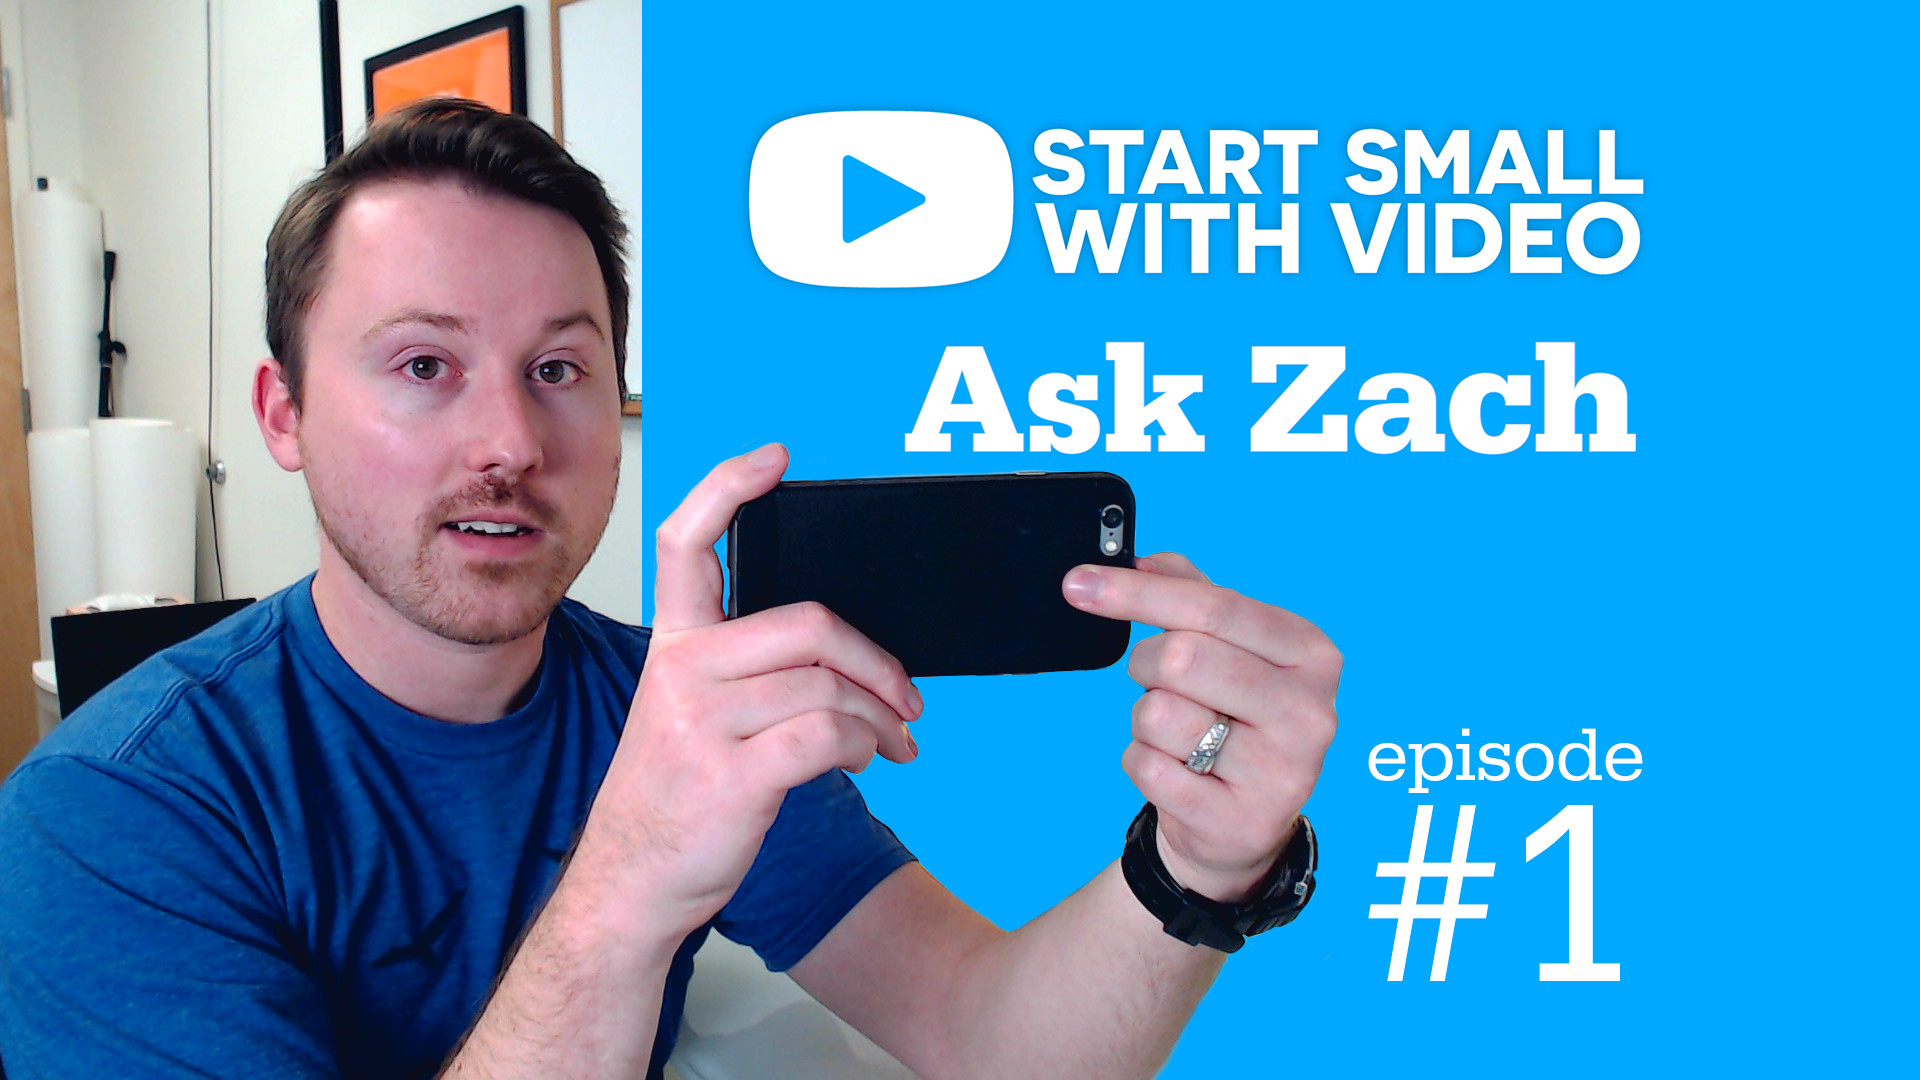
Today marks the first day of a new type of video that I’m making especially for you. I’m calling it Start Small with Video: Ask Zach.
More than anything, I want to empower you to make amazing videos yourself, and to not feel limited by the equipment, the learning curve or the technical stuff. I want to help you get started.
Don’t miss out on the bonus video about “Smartphone video gear to save you time and have even more fun” at the bottom of this post.
The simplest and fastest way for me to do this is to make Q&A videos like the one above (and the bonus one below) where I take a question that one of you have asked me recently and I answer it by sharing a few tips. I’ll always share really specific tips so that if you’re struggling with a similar question, this will get you passed that hurdle, that question, and onto the next step with making your videos.
How do I shoot stable footage, on my smartphone, without a tripod?
All of us have been in this situation: You’ve recorded some footage, and then when you play it back, you’re a little disappointed because it’s kind of shaky.
When you’re filming stuff around you… (not filming yourself)
Tip #1: The L Bracket Technique
Make an “L” with both your right and left hands and hold the phone horizontally (Remember: Avoid to vertical video).
Tip #2: Use your elbows for extra support.
Instead of relying completely on your hands and arms to support your smartphone, tucking your elbows into your sides or abdomen will create another point of contact between your phone and your body.
Tip #3: Lean against stable things around you.
Look around you and find something sturdy to lean against while you’re doing your L Bracket Technique. You’ll be pleasantly surprised to see just how much more stable it makes your footage.
Then, when you’re filming yourself…
Tip #4: Position your phone on a flat surface for a level shot.
Prop your phone up on a flat surface so that you can get a level shot, so the horizon is level. This could be a desk or a bookshelf. For more best practices, check out Episode 1 of Start Small with Video for more specific examples.
Tip #5: Match your eyes’ height with your camera’s lens.
Adjust the height that you’re seated or standing at so your eyes are at the same level as the lens of your camera. This will make your audience’s experience, as they’re watching you, feel that much more relatable. They’ll end up feeling like they’re just sitting across the table from you.
Bonus:
Smartphone video gear for saving time and having even more fun
Smartphone video gear I use:
- The Glif tripod mount and stand for smartphones
- Joby GP1 Gorillapod with quick release plate
- Pedco UltraPod II – I didn’t mention this one in the video for time, but I regularly use and enjoy this one too.
Alternatives to compare:
- Table-top tripod: Joby GripTight Gorillapod for smaller smartphones
- Table-top tripod: Joby GPM-A1EN Gorillapod with magnetic feet and quick release plate
- Tripod mount adapter: Gritech clamp phone holder
- Tripod mount adapter: RetiCAM smartphone tripod mount
Thanks for watching!
If you’re not already subscribed to my emails, and you’d like to get video-making tips just like these, consider subscribing and I will send them to you every week.